
Creating Assignments
As was mentioned in a previous training, the Assignments section of Schoology is poorly named. It would be better named Projects, because this is the perfect place to allow students to upload their completed projects.
You should be on your class home page to get started. Click on the Assignmentslink.
You should be on your class home page to get started. Click on the Assignmentslink.
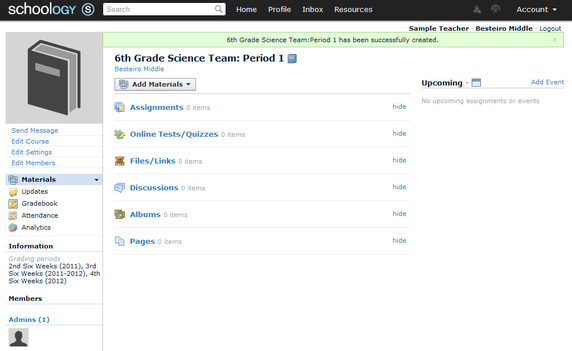
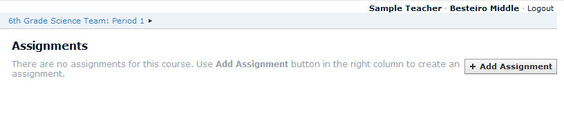
On the Assignments page, you will see a button on the right side that says + Add Assignment. Click on this button to add the assignment.
A pop-up window should appear that allows you to fill out all the essential details of the assignment. In the name field, give a short title for the assignment. In the description field, add detailed instructions about the assignment. Remember, this is both where students get the information about how to do the assignment and the place where they submit the completed product. The Dropbox checkbox is where you decide whether or not you want to allow the students to submit the assignment to you. Honestly, there isn't much point of using the Assignment section of Schoology unless you you enable the Dropbox.
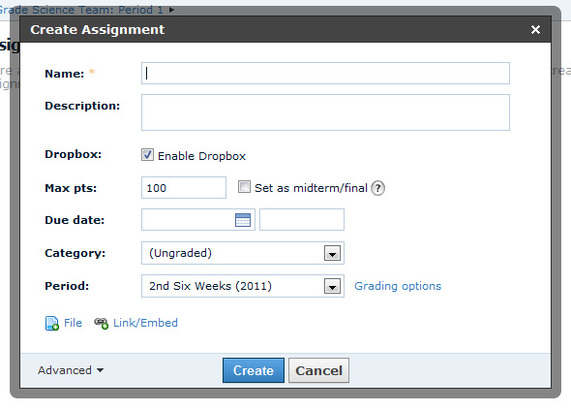
You can change the max points option, but it's probably easier to leave it at the default 100. To set the due date, simply click on the little calendar icon and choose the due date. In the empty field next to that, you set the specific time of day the assignment is due.
The Category is where you decide what type of work it is the students will be doing (homework, assignments, projects, etc).
The Period is the grading period this assignment will be due during (six-week grading period).
At the bottom of the dialog box you'll also notice you can attach files and/or links to assist your students. Once you are done, press the Create button.
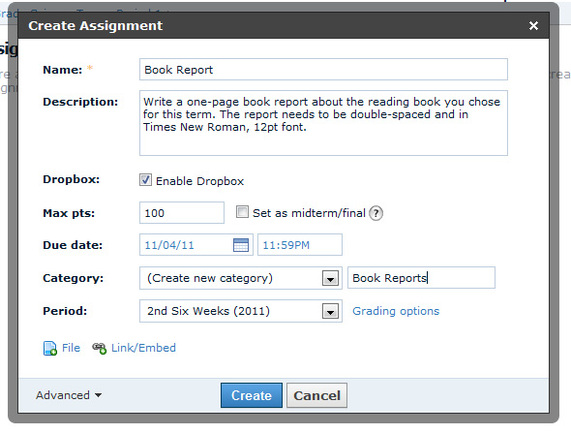
An example of a completed Assignment dialog box is shown below.
The Category is where you decide what type of work it is the students will be doing (homework, assignments, projects, etc).
The Period is the grading period this assignment will be due during (six-week grading period).
At the bottom of the dialog box you'll also notice you can attach files and/or links to assist your students. Once you are done, press the Create button.
An example of a completed Assignment dialog box is shown below.
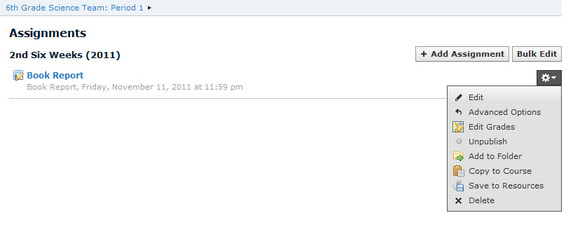
Once you've created your assignment, you will be returned to your Assignments page. You will now see your assignment waiting there. To the far right of the assignment you will see a small gear icon. These gears are all over Schoology and basically work like a right-click on a PC. You have many options available here. Perhaps the most useful is the Save to Course option, which allows you to select which other sections (class periods) you want to copy the file to. This means you only have to create each assignment once and quickly copy it to all periods.
You can also save your assignment to Resources so you can use it again next year.
You can also save your assignment to Resources so you can use it again next year.
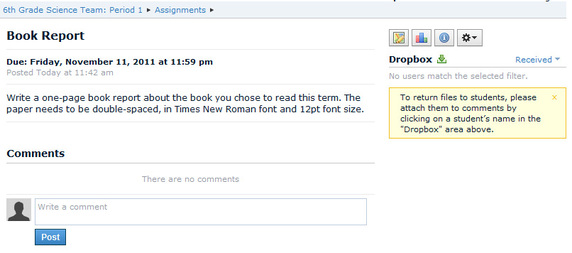
If you click on the assignment name link, you will be taken to the actual assignment. Here you will see what the students see, namely what you input in the assignment setup dialog box. The difference between your account and your students is that your students will have a button under the Dropbox label (on the right side of the page) that they can use to upload their assignments. As students upload their assignment, you will see little avatars representing students and at which time they submitted the assignment.
Learn More...
Click any of the links below to go through a tutorial on how to use Schoology.
Creating Tests
Schoology in Action (grades, attendance, project viewer, etc)
Student Registration
Creating Tests
Schoology in Action (grades, attendance, project viewer, etc)
Student Registration