
Creating Online Tests/Quizzes
The Online Tests/Quizzes section is quite possibly the most powerful resource on Schoology because you can create assignments, tests and quizzes that the computer automatically grades, saving you hours of grading time.
To begin, go to your Class main page and click on the Online Tests/Quizzes link.
To begin, go to your Class main page and click on the Online Tests/Quizzes link.
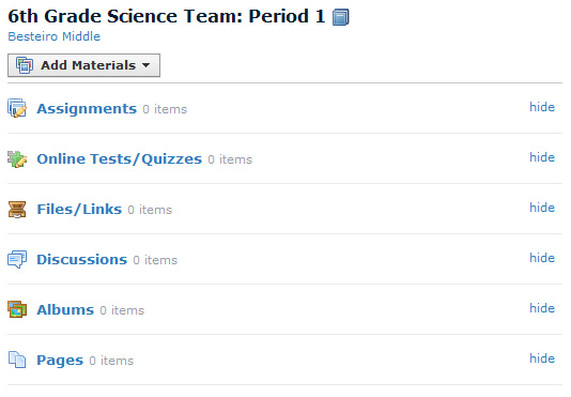
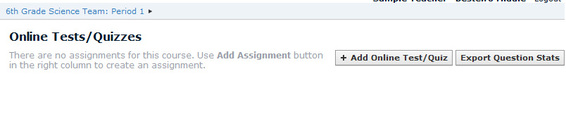
On the Online Tests/Quizzes section, click on the +Add Online Test/Quiz button to add the assignment/test/quiz you desire.
A test creation dialog box will appear. This is similar to the assignment dialog box. Provide a short name, as well as the point value for the test.
To set the due date, click on the little calendar icon and choose the appropriate due date. The field next to this is where you can input the specific time the assignment is due.
To set the due date, click on the little calendar icon and choose the appropriate due date. The field next to this is where you can input the specific time the assignment is due.
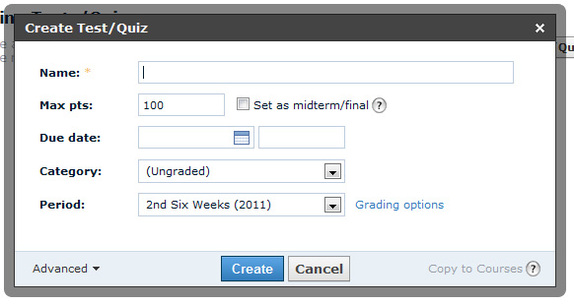
Next is the Category field, where you can set the desired category (assignment, homework, quiz, test, etc).
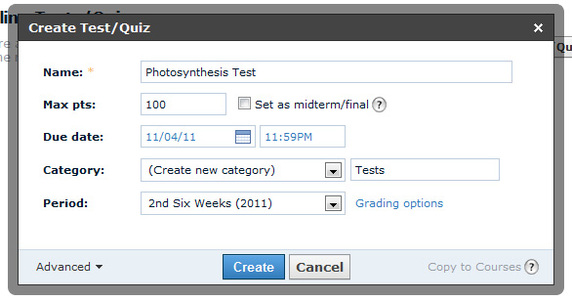
Finally, select the grading period (six-week grading period). Press the Create button. Below is a sample of a completed test/quiz form.
Finally, select the grading period (six-week grading period). Press the Create button. Below is a sample of a completed test/quiz form.
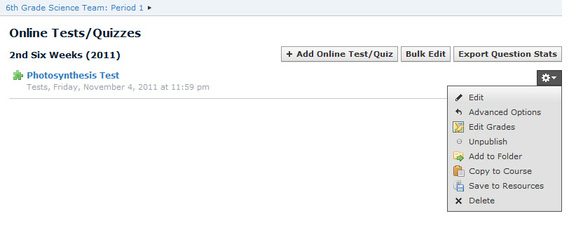
You will now be returned to the Online Tests/Quizzes main page and you will see a link to your newly created test. Like the assignment, you will see a small gear icon on the far right of the page. This gives additional options, the most important of which is the Copy to Course, which allows you to quickly copy the test to all classes by simply checking which courses you want to copy.
Go ahead and click on the test name link.
Go ahead and click on the test name link.
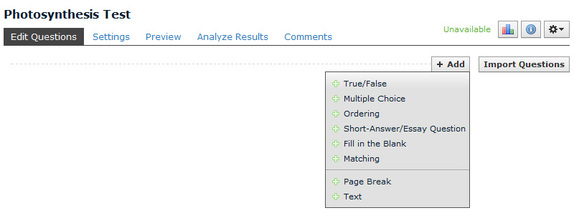
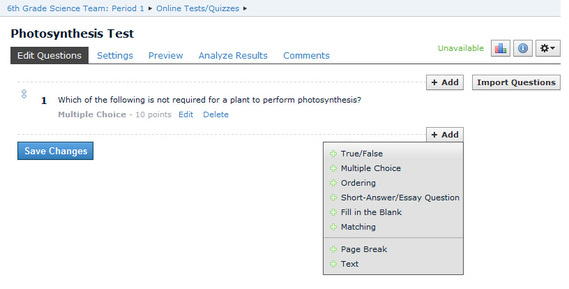
You should now be on a blank page, with the exception of the +Add button and the Import Questions button. The Import Questions button sounds more inviting than it really is. The import options are very limited, so you will probably have to add questions manually, which isn't too bad.
Click on the +Add button and you will be given choices:
You can also add extra informative text or page breaks.
Each of these options works roughly about the same, so we'll focus on the Multiple Choice option. Go ahead and click on it.
Click on the +Add button and you will be given choices:
- True/False
- Multiple Choice
- Ordering
- Short-Answer/Essay Questions
- Fill in the Blank
- Matching
You can also add extra informative text or page breaks.
Each of these options works roughly about the same, so we'll focus on the Multiple Choice option. Go ahead and click on it.
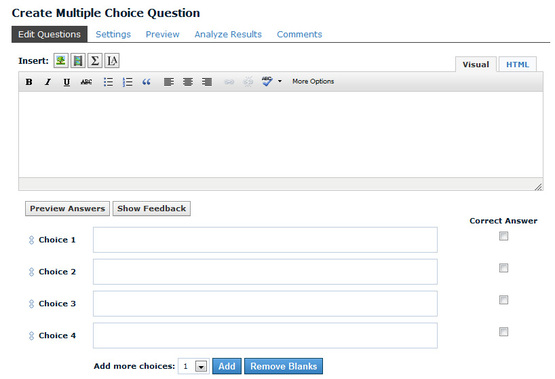
The Create Multiple Choice Question form will appear. It's pretty familiar. The big box is where you type the question. You can also add pictures, videos or formulas.
In the Choice boxes, you add the answer choices. You must select the correct answer choice by checking the appropriate checkbox on the right.
In the Choice boxes, you add the answer choices. You must select the correct answer choice by checking the appropriate checkbox on the right.
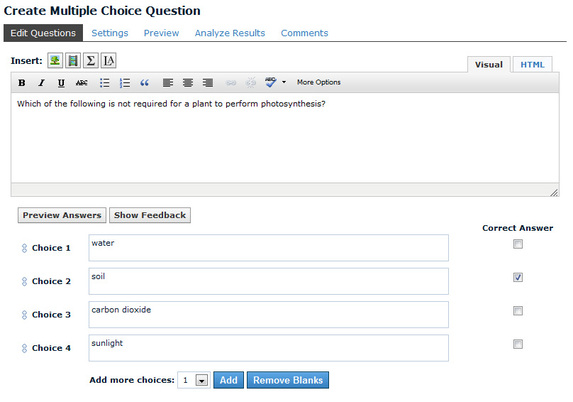
Below is a completed sample multiple choice question.
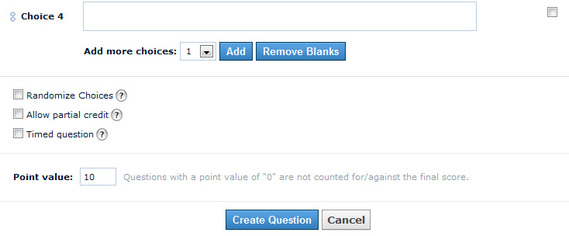
Scroll down and you will see three more check boxes.
Randomize Choices - this is a fantastic option because it will randomize the order of the answer choices for each student, minimizing the risk of cheating.
Allow Partial Credit - this is useful when you have a multiple-answer multiple choice question. It will still give points to students who only get part of the choices correct.
Timed Question - you can even select how much time you want to permit for each question.
Finally, you need to select the point value for the question. Once everything is satisfactory, click the Create Question button.
You will now be returned to the test creation page. You can add another question by pressing the +Add button. You can also reorder questions by dragging and dropping once you've created all the questions. Be sure to press the Save Changes button before exiting or you will lose your work. You can always go back and edit the questions later.
Learn More...
Click any of the links below to go through a tutorial on how to use Schoology.
Schoology in Action (grades, attendance, project viewer, etc)
Student Registration
Schoology in Action (grades, attendance, project viewer, etc)
Student Registration