
Navigating Around a Schoology Account
After you've created your course, you should be taken to the course main page. This is the same page your students will see. The only difference is they won't have the ability to edit anything.
The first order of business is to add some students. To do this, click on the Edit Members link on the left-hand column.
The first order of business is to add some students. To do this, click on the Edit Members link on the left-hand column.
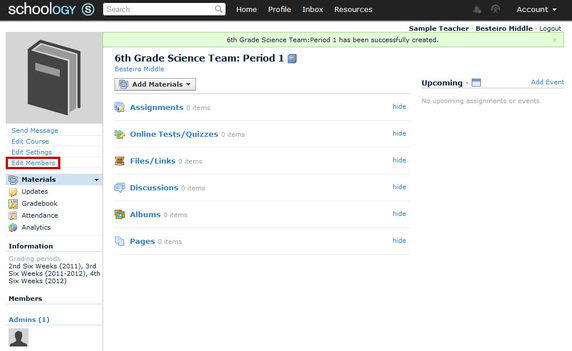
On the Edit Members page, you can see which students are currently enrolled in your course. You can also find the Access Code, a 10-digit code (with a hyphen in the middle) that students can use to enroll in your course. As students join, you will see them appear in the members section of the page. To learn more about how students enroll in your course, click here.

After you have finished with the Edit Members section, click on the Home tab in the top-middle part of the page. You are now on your home screen, which looks eerily similar to Facebook. Of course, that was kind of the idea. Students love it because they instantly know what to do.
Like Facebook, the center section is a Wall, where you can post updates, assignments and events. Students will see these updates, but they cannot add updates of their own. They can comment on your updates though.
Like Facebook, the center section is a Wall, where you can post updates, assignments and events. Students will see these updates, but they cannot add updates of their own. They can comment on your updates though.
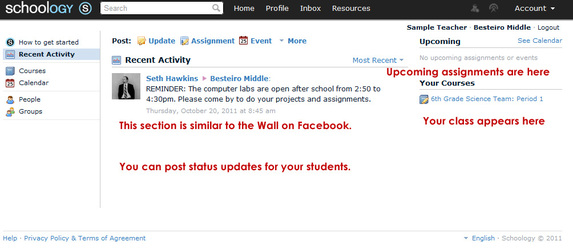
On the right-side of the page, you will notice an Upcoming section. As you add assignments, those assignments will appear in this section, along with the due dates. Your students will see the same thing on their accounts, which helps them know what to do and when assignments are due.
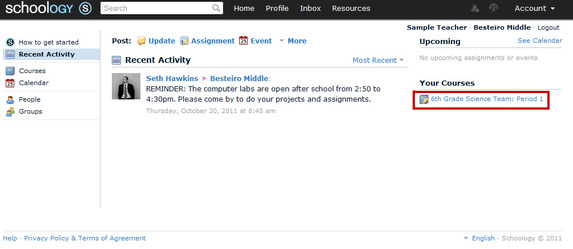
Underneath Upcoming, you will see a link to the class you created. Go ahead and click on that link to access your class.
Underneath Upcoming, you will see a link to the class you created. Go ahead and click on that link to access your class.
You should now be back to your class home page. Here you will see the various materials available to you and your students. A quick overview of each item will be instructive.
Assignments - This should actually probably be named Projects because this is where students can upload their completed projects and papers.
Online Tests/Quizzes - Again, a poorly named section. While it does allow you to create tests and quizzes, you can also use this section to create assignments that the system will automatically grade.
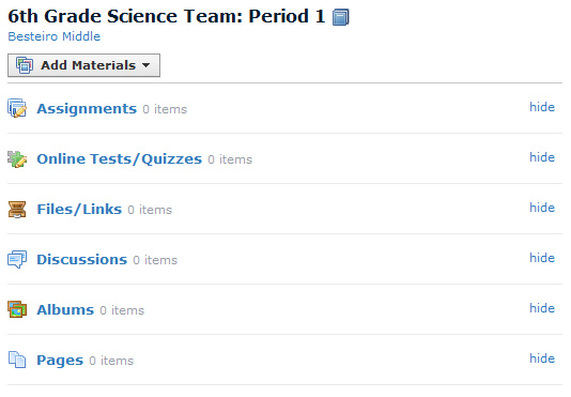
Files/Links - This is a repository for all the files and links your students will need (syllabus, links to great learning sites, homework, readings, etc).
Discussions - This section allows students to engage in a discussion. As a teacher, you pose a question and your students have a chance to respond to the question and to one another. This is a great way to get all students to participate, and it feels enough like familiar social media that students will enjoy it.
Albums - Here you can upload photos that are related to your course. This is a great place to add photos of student work and also class word walls.
Pages - These are generic pages that you can type whatever content you like. This is a good place to add basic knowledge about the different topics covered in class. For instance, you could create a page about Photosynthesis and add all the information and photos your students need in order to understand the subject well.
Learn More...
Click any of the links below to go through a tutorial on how to use Schoology.
Creating Assignments
Creating Tests
Schoology in Action (grades, attendance, project viewer, etc)
Student Registration
Creating Assignments
Creating Tests
Schoology in Action (grades, attendance, project viewer, etc)
Student Registration